Thursday 20 February 2014

Seven Years War Stoush

Our happy band of tabletop tacticians, 'The Southern Strategists', met this Wednesday evening as we do every second week for our regular wargaming fix.
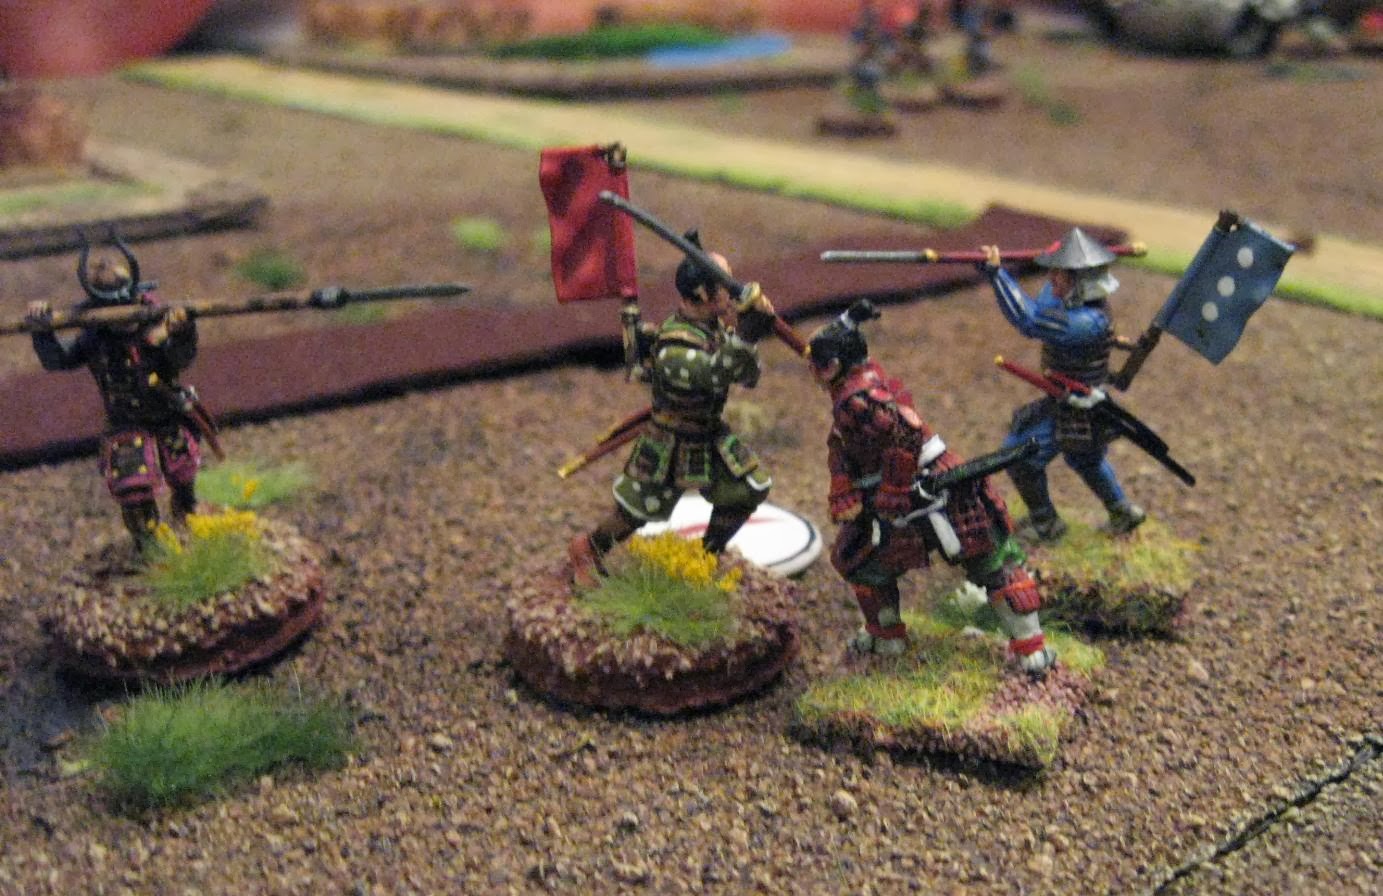
This weeks game was staged by Strategist Chris Packer who is a die-hard Seven Years War fan. The fictitious scenario was a Prussian attack against a couple of villages held by an Austro-Russian force somewhere in East Prussia. Rules were Die Kriegkunst and the lovely figures were all from Chris's extensive collection. So extensive is his collection that he can field armies from most of the major protagonists from this era, all gorgeously painted and based.

The table comprised two villages situated on some pretty featureless flat land devoid of hills or rivers,  good going for both cavalry and infantry and affording excellent fields of fire for artillery. Sorry I cant give you a better overview of the battlefield as I forgot to get a snap of it in the haste to get into battle.


As it was a week-night game Chris kept the terrain simple and the forces relatively small by his usual epic standards. Forgive me if I have this a bit wrong but as I recall them forces were as follows

The Prussians, commanded by Geoff Martin and Adrian Powell consisted of:
 1 Battery heavy artillery.
 I Brigade Dragoons
2 Brig Grenadiers
2 Brig Fusiliers
8 Brigs Musketeers

Prussian Command


The Austro - Russian force commanded by Roger Wood and Myself consisted:
1 Battery medium artillery
1 Brigade Hussars
10 Brigades Musketeers

Austro Russian Command (Russians conspicuously absent)
The Prussians gained victory points for capturing the villages and getting an unbroken unit on the road unopposed for a full turn. Looked like a hard ask but......

I'll dispense with the blow by blow account of each turn and give you a quick overview and some pics which is what you really want to see.

Both sides advanced from their respective baselines with the Austrians looking to gain an early foot hold in the more central village and their Russian allies moving into the village on their right flank. The Austrian artillery deployed on their Left flank with a clear field of fire to rake the advancing Prussians. The Austrian cavalry formed up in reserve beside the artillery to offer protection and to counter the threat of the Prussian dragoons.

Austrian Artillery

The Prussians decided to use their heavy artillery to bombard the village hoping to make thing too hot for the defenders no doubt. Whilst their infantry advanced steadfastly towards both villages.

With the Austrians and Russians firmly ensconsed in the villages they settled down to wait for the impending onslaught. A long distance barrage from the Austrians claimed the first casualty on the Prussian fusiliers.

The Prussians forces under Geoff's command on their right flank decided to avoid a frontal assault on the closest village and instead concentrated on getting astride the road leaving his fellow commander Adrian to deal with the Russians on their Left.

Whilst the Prussian infantry closed on the Austrian infantry their Dragoons appeared to be eyeing up the Austrian artillery who kept up a galling fire at ever diminishing range. Clearly they would have to be dealt with. A charge was declared but fortunately the Austrain Hussars responded by launching a counter charge in front of their guns. A furious mellee ensued with the outnumbered Dragoons managing to push the Hussars back but failing to rout them. This left them exposed to both artillery canister and musketry so a recall was wisely ordered. Superb discipline on the part of the Prussian cavalry it must be noted.

The Prussian Dragoon in the foreground seems to have adopted a somewhat casual attitude to whole affair


The advancing Prussian infantry by now was coming under sustained and accurate fire from the Austrians in the village and the formed-up stationary infantry outside the village.

The Prussian gunners were finding the village a much harder nut to crack than first thought and their shells appeared to have little effect on the Austrian defenders. Time for a change of plan. It would have to be cold steel and who better than elite Prussian Grenadiers to carry out this task.

Prussian heavy artillery


Prussian shock troops, The Grenadiers


This proved a surprisingly easy task for the Grenadiers and the hapless Austrian defenders were thrown back out of the village on the first assault. This left Adrian free to launch his remaining, not inconsiderable force, on the Russians in the far village.This settled into a fair old slogging match with the Prussians being on the recieving end of some particularly lethal dice throws from Comrade Rodger. I seem to recall three sixes in a row at some point though affairs on this side of the table were partly obscured by smoke and I was by now heavily engaged in a desperate tussle with the Prussians on my side of the table.


My Austrians, despite some abysmal dice throws, were, surprisingly, holding their own against the Prussians and as the Prussian cavalry was out of the way my artillery was spoilt for choice with regards close range targets to pummel. Whilst the infantry battled it out both sides cavalry went about the business of reforming and dressing their lines ready for another go at each other.


Austrian infantry bearing up against a Prussian assualt.

Prussian artillery moving up to support attack whilst their infantry block the Austrian line of communication.

Some stirring words from the Austrian cavalry Brigadier soon had them charging towards their opponents.  At this point the battle on this side of the table hung in the balance as a succesful charge by the Austrian cavalry showed every prospect of rolling up the exposed flanks of the Prussian infantry if a braek through could be achieved. Sadly it was not to be thanks to a 'fershlugghina son of a bitch, whoreson, God awful!!! dice throw by yours truly which saw me bested by 8 points, effectively shattering me and sending me fleeing in rout. Oh the pain and anguish, truly the dice plague has settled on me of late as this seems to be a recurring theme in my gaming at present....not that I'm bitter. From here things went pear shaped for the Austrians as the Prussian infantry pressed home their attacks with typical Germanic efficiency unmolested and took up position astride the Austrian line of communication.

This left my Russian allies to try to save some face by at least retaining possession of the remaining village. Despite Rodger's best efforts, and believe me, the wily Mr Wood is quite some opponent, he couldn't hold back the tide and at end of play the Prussians were rampaging through the second town in pursuit of the reeling Russians, pausing only to plunder the Mayor's supply of French Cognac.


Russians desperately hang on


Clearly a decisive victory for the Prussians and well played.

Thanks Chris for a rip-snorting game and for doing such a sterling job of umpiring and answering our stupid questions.

Wednesday 12 February 2014

Ronin Samurai Skirmish Battle Report

At last, the moment a wargamer awaits with anticipation. The blooding of his latest figures against a worthy and equally enthusiastic opponent.
All the research, assembling, prepping, painting, basing and countless hours of retina-punishing peering at figures comes together on the wargames table and 'Voila!' the little men magically come to life. No longer are they a mere creation of lead, glue, flock and plastic...before your eyes they are transformed into 'my troops'. You identify with them on a personal level in a way that only a wargamer would understand and if you are a gamer that doesn't relate to this then I would politely suggest that chess or train spotting is more your game.
Believe me, I have witnessed many a quivering bottom lip as a doting gamer witnesses the destruction of his favourite Zouve unit or lavishly painted Hussars...occasionally even in gamers other than yours truly!

All that aside lets get cracking on this battle report eh.

Our game was a straight forward encounter skirmish using 200 point armies from the Bushi, Swords for Hire list.
My force, led by the fire-breathing old warhose, Hikaru Nagasawa, consisted of:

Hatamoto Hikaru Nagasawa
 1 x Rank 4 Hatamoto 
2 x rank 3 Samurai
1 x Ashigaru banner man
1 x Ashigaru archer
3 x Yari armed Ashigaru

I chose the Powerful attribute and Naginjitsu skill for my Hatamoto and mounted him on a war horse making him quite a handful for his foes.
I kept the missile troops to the bare minimum and favoured melee troops as I planned on a swift and aggressive attack.

My opponent, Dave Houston, alias Nobua Murayama, no slug on the battlefield either, opted for a force comprising a large number of the new fangled, highly dishonourable and cowardly Teppo (Arquebus) troops... obviously scared of getting too close to real warriors no doubt.

Hatamoto Nobua Murayama (Far left) wearing his natty Horu or arrow catcher
 
Daves Teppo armed Ashigaru

His force comprised:
1 x Rank 4 Hatamoto also with Powerful and Naginjitsu attributes
3 x Rank 3 Samurai
4 x Teppo armed Ashigaru**
2 x Yari armed Ashigaru

** Strictly speaking this is against the rules as only 25% of your force should be armed with the Teppo but as Dave had made such a lovely job of painting them I didn't have the heart to make a fuss, see what a nice guy I am. Actually I figured his preponderance of Teppo troops would make his Buntai a bit weak in melee which would suit my cunning plan... mwah ha ha.

The layout
The battlefield was randomly arrayed with a number of peasant dwellings, a wooded knoll, a small forest and several fields. The table was neatly bisected by a road running north to south and borderd by an irrigation ditch.


Turn 1
The game opened with both forces entering the table from opposite ends. The bulk of my force, the Ashigaru, advanced rapidly up the road, banner valiantly unfurled, whilst my solitary archer moved into the forest to seek out a good field of fire. I despatched one of my trusted Samurai to provide protection.

My Ashigaru advance


My opponent split his teppo troops  to take up firing positions on either flank whilst the rest of his force advanced to meet me.

Turn 2
My archer reaches the edge of the wood and begins scanning the field for likely targets. The enemy teppo troops draw a bead on my Hatamoto, who has gamely exposed himself spurring his troops on, (somehow that doesn't sound quite right if you know what I mean) and loose off a volley. Fortunately the innacuracy of the teppo at this extreme range makes this a futile gesture as the bullets whizz past like angry bees without touching him. (I've always wanted to use that line)

Turn 3
My Hatamoto spies two of the enemy Samurai advancing on the wood and takes the opportunity to mount a bold ride-by attack on the nearest one. With clods of earth flying from his mount's hooves and his Naginata leveled squarely at his foes chest he thunders past and deftly strikes the Samurai a beautifully executed back hand blow. Luckily for the enemy Samurai he manages to parry the strike but still suffers a slight wound. The momentum of the attack carries my Hatamoto a further 9 inches toward one of the enemy Teppo men.
My Archer takes aim at the other Samurai but misjudges the range and the arrow flies harmlessly overhead. In keeping with my aggressive strategy the Samurai in the wood burst from cover and meet the enemy Samurai head on with the assistance of one of the Ashigaru from the road. A furious melee ensued with blows being landed in equal measure but alas my samurai is no match for the enemy swordsman who unleashes a vicious overhead blow splitting his skull and killing him outright. No mean feat on the part of the enemy as he entered the fight with a slight wound from the encounter with my Hatamoto. My Ashigauru wisely beats a hasty retreat to the safety of the main body of friendly Ashigaru.

Combat


First blood to Muruyama's Samurai

On the other side of the table the enemy teppo men begin frantically reloading while his Samurai and Ashigaru continued their cautious advance. This draw the attention of the bulk of my Ashigaru and they take up the challenge, moving as fast as possible to meet them.

Turn 4
Angered by the sight of the enemies cowardly teppo men with their smelly fire sticks my Hatamoto spurs his mount towards the nearest helpless and virtually undefended teppo man and effortlessly cleaves his chest open with a powerful lunge from his naganata while his trusty war horse tramples the enemies lifeless body under his flailing hooves.


The other, now reloaded, enemy teppo Ashigaru endeavours to avenge his comrade by taking out my Hatamoto with a close range shot. Clearly the sight of a fully armoured Samurai astride an enraged warhorse bearing down on him has distracted his aim somewhat but he still manages to bounce a shot off the Hatamoto's helmet stunning him.

One of the enemy samurai from the previous melee opts to take out my pesky archer and makes a run move towards him whilst his heroic mate pursues my fleeing Ashigaru.

At this point the enemies Samurai over on the other side of the table, led by none other than the mighty Nobua Muruyama and his yari armed ashigaru, bravely face off against a headlong charge by my Ashigaru and their Samurai leader, Kioshi Nakagawa. Muruyama opts to leave his 2 teppo men, on his side of the table,  out of the action so they can concentrate on trying to pick off the enemy from a safe distance.


In a complex melee such as this quite a bit of thought goes into the pairing off combats. Thoughtful selection of combat tokens to allow enhanement of attacks or defence rolls and to gain the initiative and the all important first strike plays a big part in the combat phase. Because any wounds inflicted on an enemy take effect immediately the defender is at quite a disadvantage if he suffers any sort of wound as this affects his ability to strike back. Also the sequence of multiple attacks on a single figure must be diced for as it is quite feasible to fight off up to three assailants and again the all important initiative can be vital to evening the odds.
This round of combat is particularly savage with yaris and katanas slashing and parrying and a number of wounds being inflicted on both parties though no one gains the upper hand.

Turn 5
The brawl in the centre continues with first my Hatamoto joining the fray then another enemy samurai who was pursuing my fleeing ashigaru adding his considerable swordsmanship to the combat
The remaining three enemy teppo men draw a careful bead on my hatamoto as he gallops past them and manage to inflict another stun marker on him.
Whilst the teppo can be deadly at close quarters its slow rate of fire and its innacuracy at anything over 12 inches seems to prevent it from being a game changer.

My archer has been contacted by the enemy samurai and, though he does a sterling job of holding his assaillant off, its only a matter of time before he sucumbs to a sucession of telling wounds and goes down fighting to the end. One more head for Lord Muruyama.


My archer about to get a spear in his eye.

Sadly at this point 11.30pm, time was against us as we had work the next day and the game still had another hours fighting left in it and allowing for packing up and the obligatory post game debreifing over an ale it was decided to call it a draw. Neither side had a clear advantage but probably another round of combat would have seen a victor emerge from the combat in the centre. Might be worth recreating that scenario at another stage methinks?


Situation at end of turn 5
Thoughts
There's no doubt that once we are fully up to speed with the rules, bearing in mind Dave had not even seen the rules prior to the game, we could knock a game of this size out in much quicker time. Both Dave and I thoroughly enjoyed the game and felt the rules worked perfectly for actions of this scale. The combats are tense and exciting and you have to make quick decisions about selection of combat dice and when to enhance your throws and weighing up the odds as to  whether an attack will be successful prior to committing yourself.

A special thanks to my good mate Rodger Wood of Rebel Barracks fame for the use of his wonderful peasant dwellings.

Friday 7 February 2014

Turning Japanese, I think I'm turning Japanese (Preparations for Ronin Samurai skirmishing)

With Osprey's release of the Ronin, Samurai skirmish rules I now have a set of relatively quick- play rules that capture the flavour of the period and allow games to be fought to conclusion in a couple of hours without requiring endless cross referencing of wound types and weapon capabilites etc.

My initial trial of these rules using a couple of figures a side on my dining room table quickly made me appreciate what a cracking set of rules they are. A follow-up game with my mate, Geoff, only served to increase my admiration and fire my enthusiasm. The use of combat tokens and the ability to enhance your initaitive, attack and defence rolls by the careful expenditure of these tokens is very clever and once you have the hang of it works like a treat. I hope to have some Samurai skirmish battle reports to post in the not too distant future.

I have been working on and off on some Wargames Factory 28mm plastic Samurai for quite some time now however my interest in Wargaming and modelling has gone through a bit of a dormant period and they been shelved away on the must-finish shelf for longer than I care to remember. Really I think I was hoping for a decent set of rules to get the project off the ground.

My Samurai collection is primarily Wargames Factory but I am slowly adding some of the excellent Perry metals to the mix. As one who has spent countless hours converting and adapting 1/72nd scale soft plastic figures I find the Wargames Factory figs a doddle to assemble and the endless possible variations of poses that can be created from the basic figures is astounding.

I thought I'd share a few simple figure conversions and some examples of my finished models.

The first are some casualty markers I have prepped ready for painting.

Ashigaru

Ashigaru

Samurai

Samurai
The next figure is straight forward assembly whch highlights the somewhat grisly nature of Samurai warfare.


Some more straight forward conversions / assemblies.


Some painted examples


Perry Samurai from the Sepuka set.


My first Samurai figures