Wednesday 30 November 2011

ACW Battle Report (The Battle of Blackwater Creek)


Apologies all for my absence, it's Spring in Godzone at present so my wargaming has taken a bit of a back seat to my other passions, trout fishing and motorcycling


but the good fight must continue so.....

Fire and Fury
Our merry band of tabletop warriors were introduced to the excellent Fire and Fury ACW rules many years ago by fellow gamer Dave 'Tex' Houston. After amassing some formidable 15mm armies and investing in suitable terrain we spent countless happy hours forcing river crossings, charging log breastworks, defending snake-fences, sunken lanes and fields, marching along turnpikes and generally getting into the spirit of this fascinating period.
The obvious attraction of 15mm was the ability to refight large battles, within the confines of our 8' x 6' table, for relatively minimal financial outlay.
Alas, at some stage, we were smitten by the deadly 'twenty eight militis bug'. This insidious virus attacks the brain and renders otherwise sane gamers incapable of wargaming unless their armies are an exquisite and thoroughly authentic representation of their chosen army in 28mm scale. In its more advanced stages the victim is rendered incapable of even touching any figure of an 'inferior' scale.
Sadly the dejected 15mm pygmies were left to languish in their storage trays whilst their gorgeous 28mm giant cousins waged their dioramic battles.

It was in a moment of nostalgic reminiscing that I decided to arrest the ravages of the 28mm virus by staging a 15mm Regimental Fire and Fury game as my choice for our fortnightly battle. Despite the fevered protestations of our most afflicted colleague and with the assistance of our resident ACW experts I,...well er actually... they, came up with a fictitious scenario and the Orders of Battle for a medium sized encounter battle.

What follows is a highly condensed account of that battle:

 'THE BATTLE OF BLACKWATER CREEK'.


The main features of the Battlefield are, looking from North (the Union end) to South (the Confederate end)
  • The village of Grantville. (5 Points)
  • Blackwater Creek,(slow-moving and fordable along its entire length).
  • The Harrow Turnpike which runs pretty much parrallel with the sluggish Blackwater Creek crossing it at the stone bridge and heading south.
  • Riverton Road heads through the town crossing the creek just south of the town and carries on in a Southerly direction.
  • Riverton Rd Bridge. (5 points)
  • Wilsons crossing. (5 Points)
  • Wilsons Farm.
The ridges at either end of the table merely represent the boundaries of the table and offer no terrain advantage. Crossing the creek or moving through woods or broken ground incurs the usual movement penalties.

We deliberately kept the battlefield as uncluttered  as possible to allow ease of movement yet still retain some resemblence to the American Civil War countryside.

ORDERS OF BATTLE
We used the Orders of Battle from the Fire & Fury, 'Little Roundtop', scenario for no other reason than the numbers looked about right for a medium sized stoush.

SCENARIO
The rough outline of the scenario is that the Confederate Army is advancing deep into Union territory and are hoping to resupply at the town of Grantville, plus secure the crossings along the Blackwater Creek before the onset of the inevitable rainy weather which turns the usually sluggish creek into a raging torrent.
Naturally the Union Commander is charged with thwarting their nefarious plans and defending the good citizens of Grantville from the nasty rebels.

FORCES
Whilst the Confederate infantry outnumber the Union, the Union commander has at his disposal nearly a third more artillery. Neither side possess a cavalry force.
The Confederates are nearly all Crack troops whilst the bulk of the Union troops are Veterans or Trained.

COMBATANTS (Brigades commanders in brackets)
UNION: Roly Hermanson (Weed), Dave Houston (Vincent), Gavin Bowden (Ward)
CONFEDERATES: Roger Wood (Laws), Adrian Powell (Benning), Wayne Stack (Robertson)

DEPLOYMENT
Both sides may be deployed up to 16 inches from their respective baselines.


OPENING MOVES
As you'd expect both sides waste no time in advancing toward their key objectives.
I wont bore you with an account of the initial manuevering, but intstead, will teleport you to turn 3.

As can be seen from the picture the bulk of the Confederate Force (Benning and Robertsons Brigades)  have advanced to the edge of Blackwater Creek and have begun trading fire with the Union troops (Wards Brigade) who have formed a defensive line along the Harrow Turnpike and the Riverton Rd Bridge. Laws Brigade of Alabamans have been tasked with the capture of Wilsons Crossing and have deployed their battery of two guns on the hill behind them.
Weed's Union Brigade take up a defensive line in and around Grantville whilst on
 their Right flank Vincents Brigade have been sent to defend Wilsons Crossing. The thunder of hoof beats and jingle of harness signals the arrival and rapid unlimbering of Union Gun Batteries. 

The Union Left Flank, 'bringing up the guns'


The Union Right Flank, Hazletts Battery deployed in the wheat field  and Vincents Brigade in the foreground

On Turn 4 hell breaks loose as all along the line troops engage in close to medium range firing, both sides intent on weakening the others resolve to stand.
On the Union Left flank Ward's Artillery (Smith's Battery) have brought the guns up to very firing line to support the infantry and commence a lethal bombardment of the boys from Texas and Arkansas.

Smith's battery deployed in the line in support of Wards Brigade

Bennings Georgians "cross over the river"to assult the Union Centre
Unfortunately the hail of lead is not enough to stop the Confederates pressing on with a well handled crossing of Blackwater Creek. In the Confederate centre Bennings Brigade similarly wade across the Creek intent on sweeping aside the enemy and capturing the town.

On the Confederate Left Law's Brigade is heavily engaged with Vincent's Brigade in a struggle for Wilsons Crossing, the Tiger Zouves make a fearsome sight in their natty straw boaters and pyjama pants....sorry Rog, I couldn't resist an under-hand snipe at your beloved Zouves. Actually they wreaked havoc on the men from Maine with some galling fire.....so they're no pussies.

Roger's beloved Tiger Zouves in action at Wilsons Crossing

Turns 5 & 6 can best be summed up by a series of charge and counter charge across the entire front as the Confederate assaults are checked only to rally again and go back in with support from fresh troops from the reserve. The Union seems to get the worst of it as casualties rapidly mount and units become worn. The 124th New York Regt have taken over 60% casualties! and are spent. They're only holding on due to some lucky morale dice by your's truly. Robertsons Brigade of Texans 'good ol boys' are really taking it to the Yankees and, with some uncharacteristically (for Wayne) outstanding dice throwing, succeed in driving the enemy back. Nice of you to get your 'Dice Mojo' back when you're attacking me mate!


Turn 7 is really the tipping point for the Union as the Confederates have succeeded in throwing both Wards Brigade back and now control the Riverton Rd Bridge. On their Left they have wrested control of Wilsons Crossing from Vincent's hard pressed Brigade. In the centre the Union are also giving ground and the ragged state of the Brigades is making it difficult to rally the men. So with nightfall approaching it fell to the umpire to make a decision. After a quick tally of points for objectives gained and casualties inflicted it was declared a victory for the Confederacy.

A tense moment as we await the umpires decision

All and all a thoroughly enjoyable game fought to a decisive conclusion in an evening.

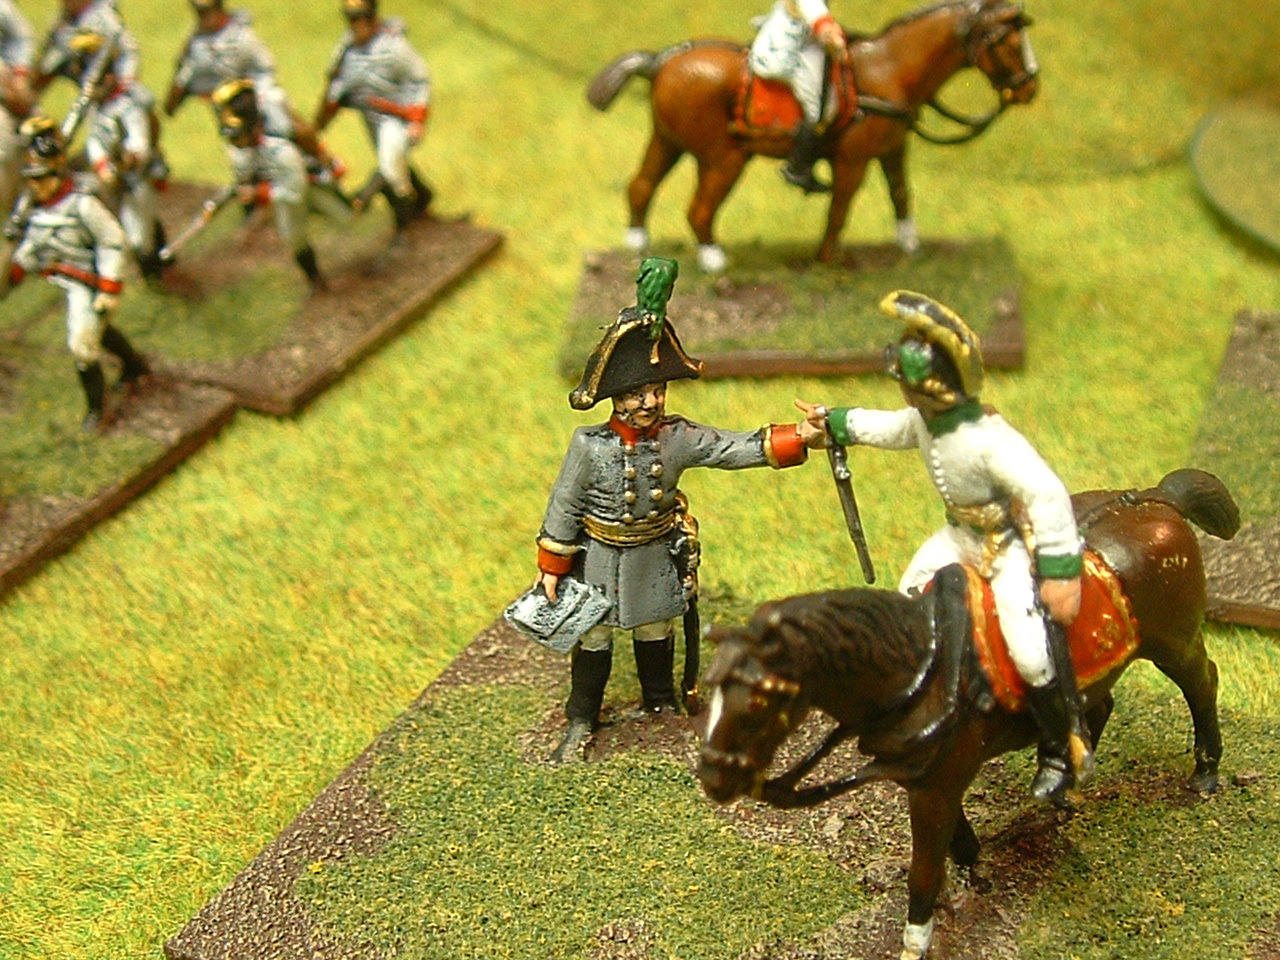
And now for something completely different.....28mm eye candy just to show we try to cater for all tastes.


Monday 26 September 2011

Volley & Bayonet Battle Report

Our last Wednesday night tabletop punch-up was a Volley & Bayonet game comprising a Revolutionary French Army versus an Allied force of British and Austrians somewhere in Belgium. All the figures, scenery and scenario notes were care of our V & B expert and war gamer extraordinaire Adrian Powell. Adrian has yet to put on a dud game and they are often on the grand scale.

Scenario
The Allies defended a number of towns and hamlets somewhere in Belgium with the British forces (myself), deployed in defence, whilst their Austrian allies, (Geoff) arrived from the far end of the table.
The large French force, comprising two armies, commanded by (Wayne and Mike) were tasked with capturing the towns, with 2 points for each captured town and 5 for each enemy division forced to exhaustion. Similar points were allocated to the Allies in a vice versa fashion.

Troop quality
The French Armies, whilst large, were of inferior quality, being mostly M4, and possessed a limited force of cavalry.
The small British infantry force was all top notch M5, and two of the Highland units were M6.
The Austrians infantry was similar quality to the French with the exception of 2 Grenadier units that were M6 and their large Cavalry force was all class at M5. Artillery numbers were similar for both forces.

The table looking North from the Allied end
Initial French attack
The French, deciding that they had the numbers, opted for a rapid and blunt frontal assault on all three of the foremost towns and hamlets. They were counting on the much smaller British force being a pushover and at first glance I didn't think I had a hope in hell of holding out till my Austrian allies arrived.

Fortunately the dice gods were to look favourably upon my endeavours this particular evening.
From the start my stationary artillery began an effective bombardment of the advancing Frenchmen. As the French came in range of the British muskets I commenced throwing sixes with ease and their preliminary assaults were checked and thrown back right across the entire front.

French Assault as the Austrians are about to join the fray

The British hold fast

Follow up assaults by the French also failed to make any impression on the British line and by turn three the Austrians were moving into position to bolster the British line and put pressure on the French flanks with their cavalry.

Austrian Curassiers (Heavies)

Not one to muck about, the Austrian C in C (Geoff) launch a cavalry attack on the French left flank that sent the French into disarray and caused an infantry unit to rout. Emboldened by their success the Austrian Cavalry lined up a unit of French cavalry and plunged headlong into them causing the French to recoil.
Bear in mind the French still had huge numbers, albeit second rate, so these initial setbacks had not dampened their enthusiasm for the assault.


Austrian cavalry attack the French Left flank

The next three turns saw possession of two of the towns see-sawing between both sides. No sooner would the French batter their way in but a determined counterattack would throw them out again. Fortunately for the Allies, the Austrian reserves were playing their part in evening-up the battle of attrition.
By now some of the French units were looking decidedly shaky. In fact one of Wayne's three Divisions was on the brink of exhaustion and a duff morale test confirmed this. Henceforth his units could not advance to the enemy or go stationary for firing and were permanently disordered.

Combined Allied counterattack on one of the towns

Austrians defending a hamlet
Sensing the balance was tipping in their favour the Allies threw another dashing cavalry attack on the faltering French Right Flank which sent the Frenchmen reeling and followed up with massed infantry charges all along their front. The higher morale of their British units was a deciding factor in many of the melees.

Austrian cavalry in the thick of it again
 
Situation at turn 8
By turn 8 another of Wayne's depleted Divisions went exhausted and his remaining unit wasn't looking too flash either.
Mike's French army was, surprisingly, still in reasonable shape though one division was close to exhaustion.
On the Allied side two of the British divisions were in a pretty ragged state but fluky morale throws by yours truly was keeping them at their task whilst all the Austrian units were in fine fettle.

Sadly for the French the Battle had slipped from their grasp and the decision to withdraw rather than batter themselves to pieces needlessly was agreed upon by the French command.

As I said at the start, the dice gods well and truly were smiling on me this night and the superior morale of my troops couple with Wayne's abysmal bad luck played a big part in delaying the French attacks till my Austrian ally and his very aggressive cavalry arrived.

Special credit to Adrian Powell for his beautifully presented Essex figures of which he has thousands and his outstanding scratch built buildings...being an Architect clearly improves ones modelling skills.
Adrian always puts on a well balanced and challenging game and his expert knowledge of V & B rules ensures there are no time wasting arguments and the games crack along at a brisk pace.

Some parting shots from the battle in no particular order of events:

Austrians make way for their exhausted allies

French HQ

French gunners


Monday 22 August 2011

Sum of me wee plastics.

I know plastics 20mm figs are considered the poor relation of the wargaming fraternity and are usually overshadowed by their beautifully painted 28mm lead cousins. However if you're gaming on a budget or want try out a period before investing the equivalent of the National Debt they can be a good option.
Besides the 'Dice Gods' don't care what scale your figures are or whether they're made of finest pewter or recycled milk cartons....
As an aside why do our most lavishly painted, elite troops invariably perform like muppets on the battlefield? I have a unit of 15mm ACW Union Zouves who've yet to last an engagement before routing or, on one particularly galling episode, fail to advance past turn 2...hmmm this nice safe wood in the rear looks like a good spot to brush up on bit of 'pretend to be invisible practice'.
Bloody Zouves..give me a unit of raggedy arsed regulars with the odd broken bayonet and some tin showing through and I'll take that damned hill for you.

But back to the topic.

"I often wargame with plastic 20mm figures"...there, I've said it, admitting you have a problem is half the battle they say.
...my name is Gavin and I've been playing with plastic soldiers for about 40 years, I've tried numerous times to quit but every time I walk past a model shop I just have to, well you know...
...thank you for sharing that with the group Gavin, are there any other plastic addicts who'd like to spew their guts out for the benefit of everyone?


Seriously though, Ive attached a small selection of pics from some of my Plastic Encounters. Laugh if you must but remember you probably started your wargaming obsession with a couple packs of Airfix, some garden twigs stuck into blobs of plastiscene, some of those wonderful card Railway buildings and a blanket thrown over some books for terrain.


Rogers Uhlans

Rogers Hussars


Rogers Bavarians


Adrians Saxons


Geoffs Middle Guard

Geoffs Brits


Credit for the Napoleonic Bavarians goes to Roger Wood, Geoff Martin for the Napoleonic British figs and the Middle Guard. Saxons are care of Adrian Powell.
This is just a small selection.

Oh well, they say being able to talk about it is the first step!